the Breville Test Kitchen
Essential Yogurt

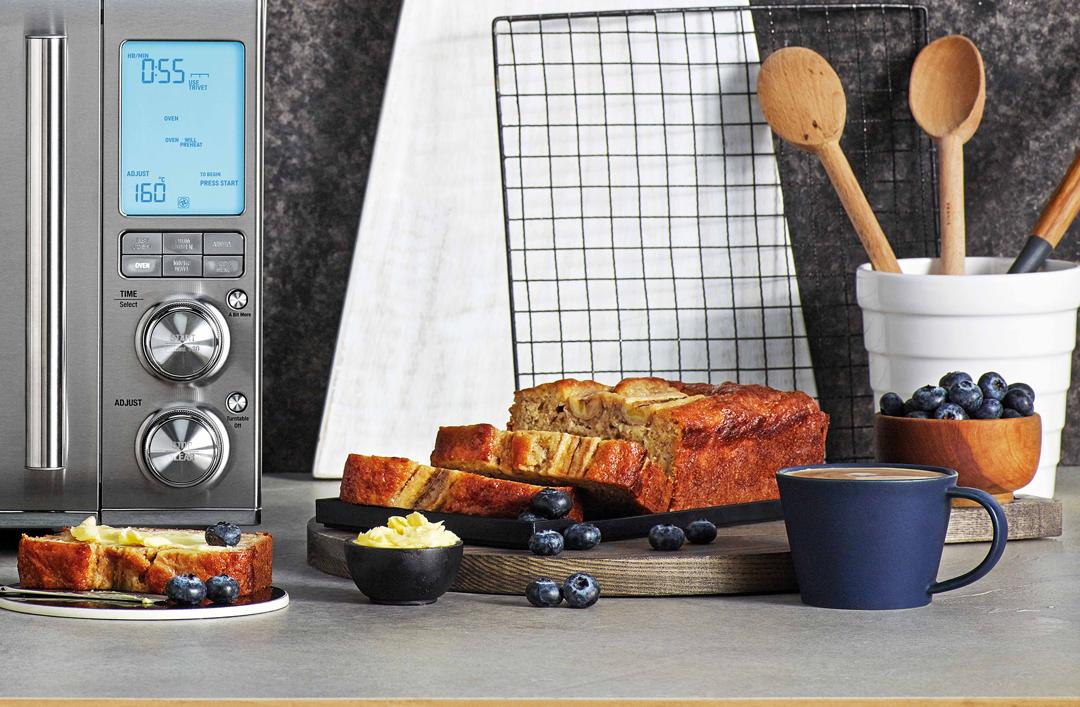
the Smart Oven® Air Fryer Pro
1 day total time
15 mins active time
Easy
Makes 4 lb
Ingredients
Measurements:
 2 quarts (64 fl oz) whole milk
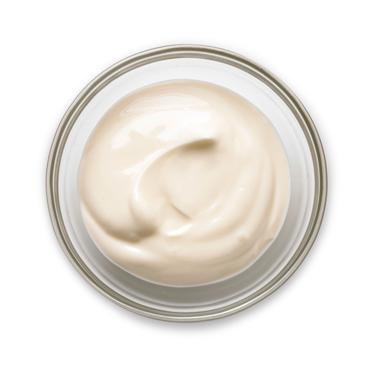 2 tbsp (1 oz) plain whole milk yogurt with live and active cultures
Instructions
- 1
Insert the wire rack into position 8.
- 2
Wash and rinse 4 x 2 cup (16 fl oz) glass jars and place on the pizza pan. Place in the oven. Set the oven to Bake, No Fan, 220°F, for 20 minutes and press Start. Wash the lids in hot soapy water, rinse and dry. Once sterilized, leave the jars in the oven to keep warm. Meanwhile, continue to the next step.
- 3
Place the milk in a pot over medium heat and slowly heat to 185°F, stirring occasionally. Reduce the heat to low and maintain the milk at this temperature for 5 to 10 minutes. Scalding the milk kills off any competing bacteria and allows the proteins in the milk to bind resulting in a thicker yogurt. Using whole milk will produce a thicker result, while using reduced fat milk will produce a thinner result.
- 4
Turn off the heat and cool for about 45 minutes, or until it reaches the incubating temperature of 110°F, stirring occasionally to prevent a skin forming. If a skin forms, remove with a strainer.
- 5
Whisk some of the milk with the yogurt starter and add to the milk in the pan. This warms up the starter and makes it easier to mix through.
- 6
Pour the milk mixture into the warm sterilized jars and seal.
- 7
Place the jars in the oven. Set the oven to Dehydrate, No Fan, 110°F, for 6 hours and press Start. Incubate undisturbed for 6 hours.
- 8
The yogurt can be incubated for up 10 hours. The longer it is incubated the thicker and tangier it will be. For longer incubating, dehydrate for a further 4 hours.
- 9
Refrigerate for 8 hours to overnight to give it time to chill and further set before eating.
- 10
Store in the refrigerator for up to 2 weeks. Yogurt will become tangier the longer it is stored.
Tip: 2 tablespoons of the yogurt can be reserved and used as a starter to make the next batch, use within 7 to 10 days. You can make 4 to 6 batches before you’ll need to buy a new starter.